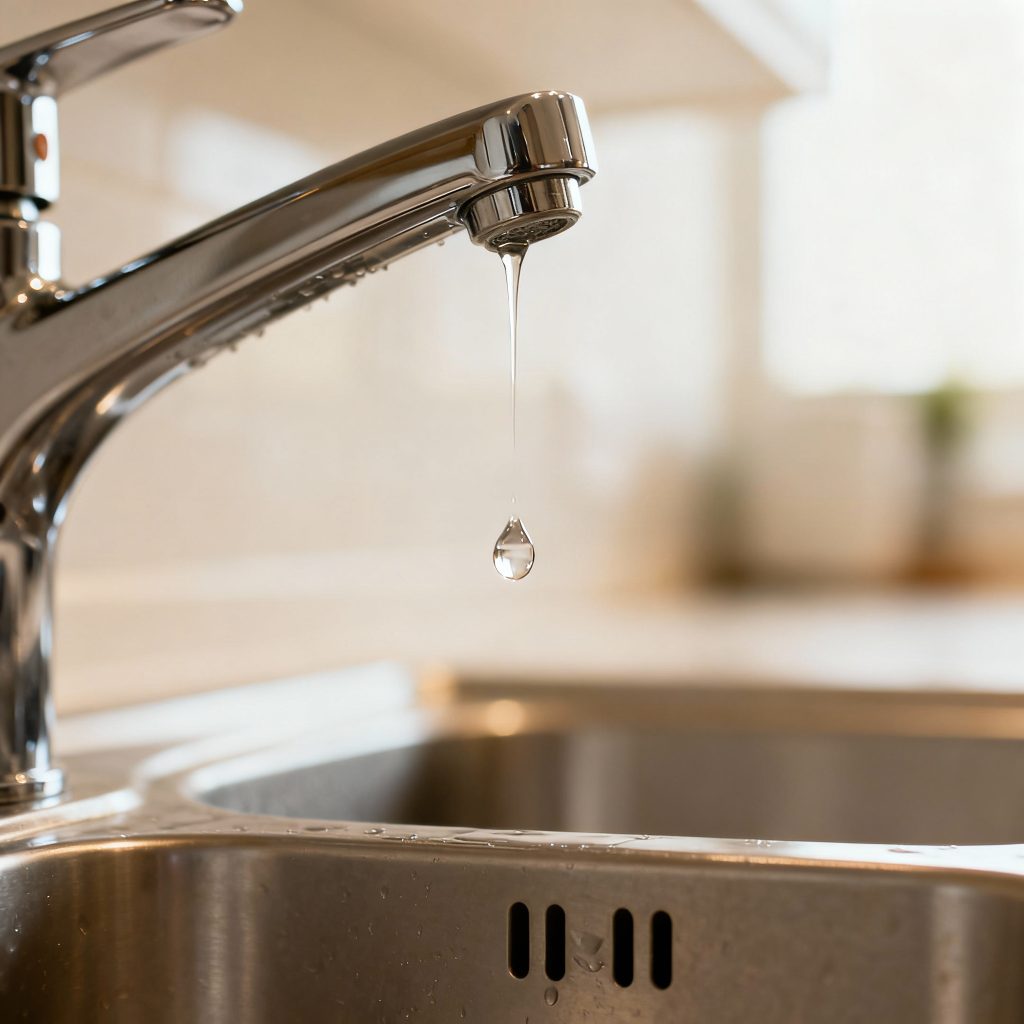
If the steady drip from your sink has started to cost you time and money, you can probably stop it yourself without calling a plumber. In this guide you'll learn practical diagnostic steps and clear repair instructions for common faucet types, with tools, tips, and safety notes so you feel confident tackling the job. In the opening section I’ll show how to test where the leak comes from and what parts usually fail, then we’ll walk through step-by-step repairs.
In the paragraphs that follow I’ll use simple language, visual descriptions, and troubleshooting checkpoints so you can get the job done in under an hour. For example, the most common leak causes are worn washers or O-rings in compression faucets, and failing cartridges or seats in modern faucets. How to Fix a Leaky Faucet is about giving you the how-to + when to call a pro.
Quick diagnosis: Where is the leak coming from?
Check the obvious
- Turn the faucet on and off, note whether the drip happens when it’s on, off, or both.
- Inspect around the base, spout, and handles for visible water.
Common leak locations and typical causes
- Drip from spout while faucet is off: worn seat, washer, cartridge, or damaged valve.
- Leak at handle or base: failing O-ring or packing nut.
- Constant slow drip despite off position: usually a worn washer or cartridge.
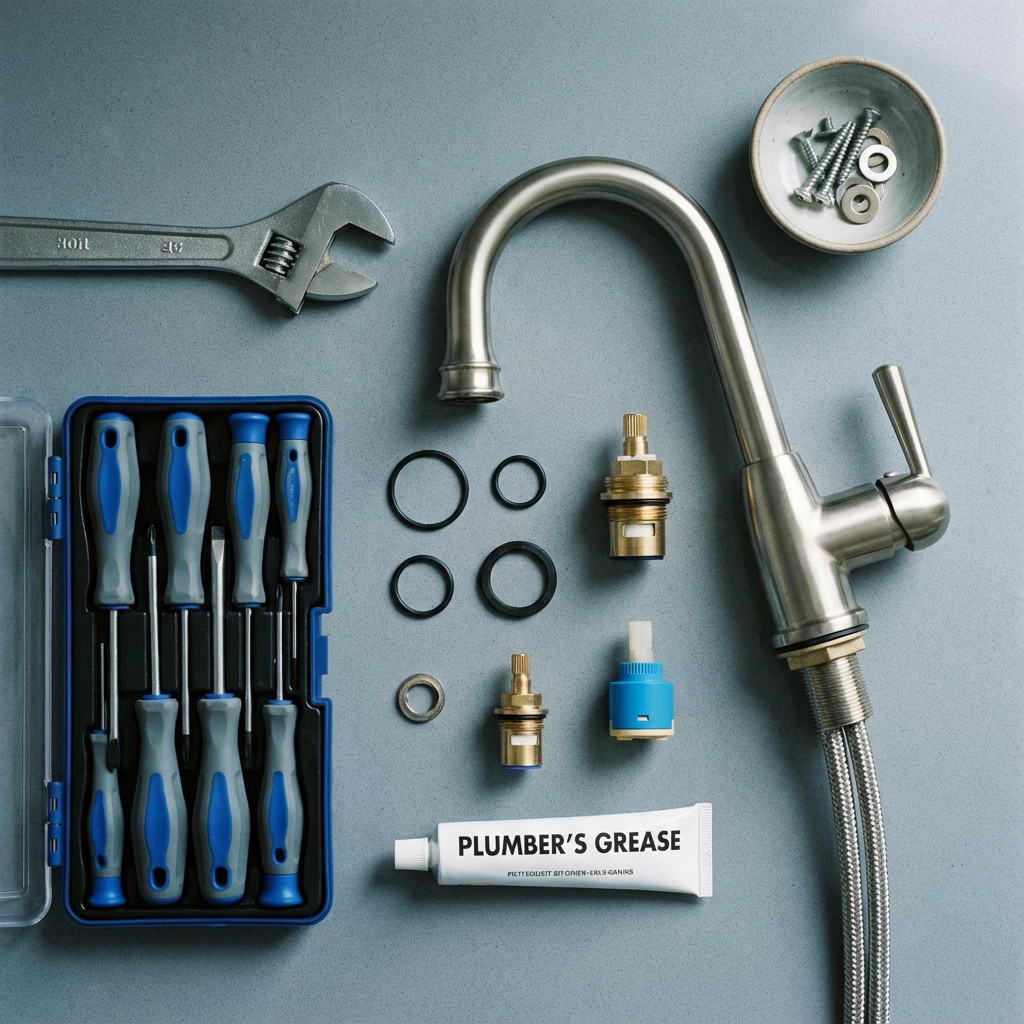
Tools and supplies you’ll need
- Adjustable wrench or basin wrench
- Screwdrivers (Phillips and flathead)
- Replacement washers, O-rings, or cartridges (model-specific)
- Plumber’s grease
- Rag, small bowl for parts, flash light
Tip: Turn off the shutoff valves under the sink or the main water supply before you start.
Identify your faucet type (quick guide)
Compression faucets
Two handles, separate hot and cold, work by compressing a washer. Common in older homes and usually the easiest to fix.
Ball, cartridge, and ceramic-disk faucets
Single-handle styles are more modern:
- Ball faucets use a ball valve and are more complex to service.
- Cartridge faucets have a removable cartridge — replacing it often fixes leaks.
- Ceramic-disk faucets are durable, but when they leak, seats or seals usually need replacement.
Step-by-step repairs
1) Fixing a compression faucet (dripping spout)
- Turn off water supply, open faucet to drain lines.
- Remove handle cap and unscrew handle.
- Unscrew packing nut and pull out stem assembly.
- Inspect and replace the rubber washer at the end of the stem, and any worn O-rings.
- Reassemble, turn water on, test for leaks.
Time: 20-40 minutes. Difficulty: Easy to medium.
2) Replacing a cartridge (single-handle leaks)
- Turn off water and remove handle.
- Extract retaining clip or nut holding cartridge, then pull cartridge straight up.
- Take old cartridge to hardware store or match model online; install new cartridge with plumber’s grease on seals.
- Reassemble and test.
Time: 30-45 minutes. Difficulty: Medium.
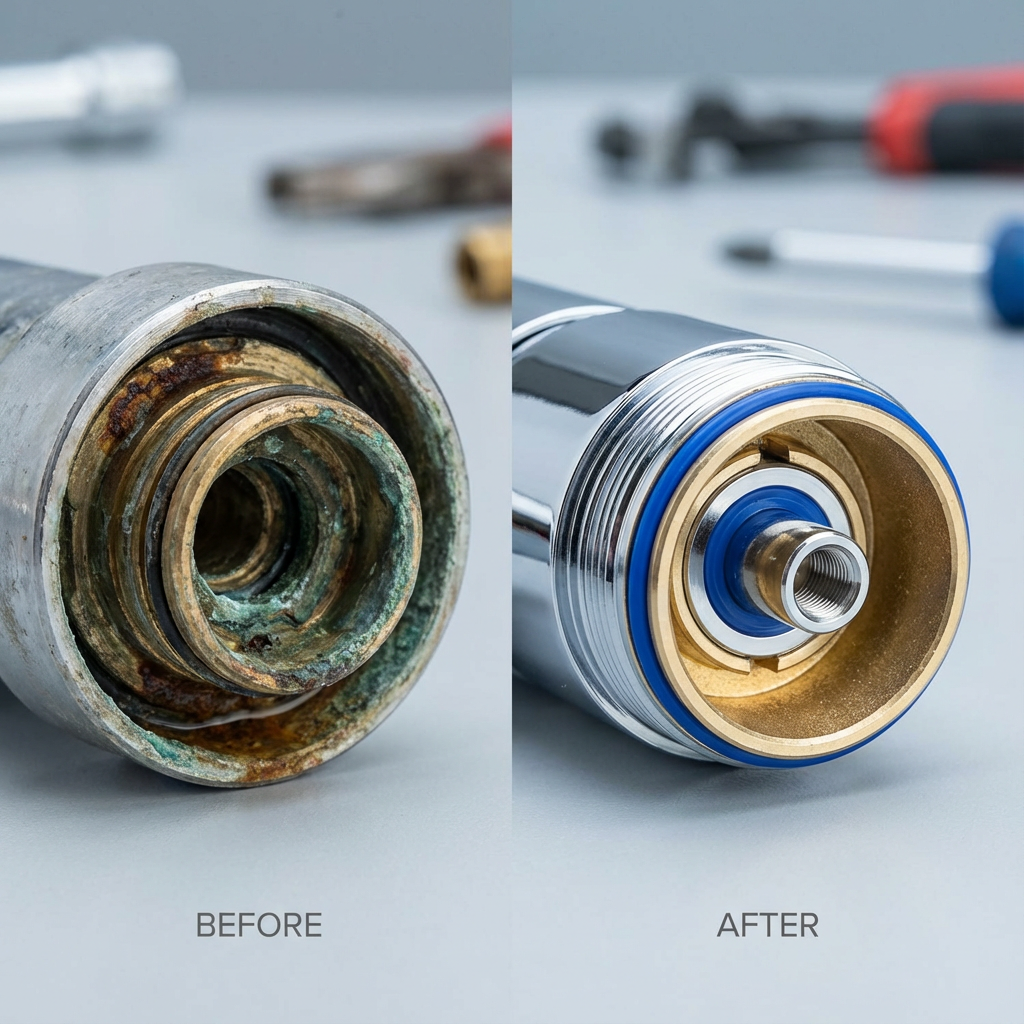
3) O-rings and base leaks
- If water leaks around handle or base, remove handle and replace worn O-rings and apply plumber’s grease. Tighten packing nut but don’t overtighten.
4) When the spout itself leaks
- Many times the spout seat or seals are worn. You can replace seats or the entire spout assembly; in older units, replacing the whole faucet may be cheaper.
Common mistakes to avoid
- Don’t force or overtighten parts, you can crack housings.
- Don’t forget to turn off water supply.
- Avoid using pipe dope on rubber seals, use plumber’s grease instead.
Preventive maintenance
- Clean aerators and remove mineral buildup every 3-6 months.
- Operate handles gently, avoid unnecessary force.
- Replace seals at first sign of wear rather than waiting for a steady drip.
When to call a plumber
- Multiple leaks or water damage under sink.
- Leaks that continue after basic repairs.
- Complex ball-faucet issues if you’re uncomfortable disassembling the valve.
Estimated costs and time
- Parts (washers, O-rings): $5–$20.
- Cartridge or full replacement part: $20–$80 depending on brand.
- Professional call-out: $75–$200 plus parts, varies by region.
FAQs
How long does it take to fix a leaky faucet?
Most simple repairs, like replacing a washer or O-ring, take 20–40 minutes. Cartridge swaps may take 30–60 minutes depending on access and parts.
Can I fix a leaky faucet without turning off the main water?
You should always turn off the local shutoff valves under the sink. If those don’t work, turn off the main water. Working with pressurized lines can lead to spills and damage.
What if I don’t know my faucet model?
Remove the cartridge or a part and bring it to a hardware store for matching, or take clear photos to compare online. If you can’t match it, consider replacing the whole faucet with a modern unit.
Are replacement parts universal?
Some components are universal, but many cartridges and seats are brand-specific. Bring the old part to the store when possible.
Will hard water cause leaks?
Yes, mineral buildup can prevent seats from sealing and damage rubber parts. Regular cleaning helps prevent leaks.
Is it cheaper to repair or replace the faucet?
If the faucet is old, heavily corroded, or uses hard-to-find parts, replacement can be more cost-effective long term.
Next steps you can take right now
- Turn off your shutoff valves and identify where the leak is coming from.
- Gather the simple tools listed above and take one clear photo of the leaking area if you plan to buy parts or ask for help.
Want help publishing DIY home guides like this?
If you publish or create content and want SEO-optimized, conversion-focused articles, check out https://contentbeast.com for tools and content services that speed up research and production.
Conclusion
Fixing a leaky faucet is often a straightforward DIY project that saves water and avoids extra utility bills. Start with a calm diagnosis, match the repair steps to your faucet type, and replace small parts like washers, O-rings, or cartridges before the problem worsens. If the repair seems complex or you find water damage, call a licensed plumber. With the right tools and a little patience, most homeowners get the job done confidently and quickly.